Glowing Skin Secrets: At-Home Beauty Treatments You Need to Try
FYI, I link my favorite glow-boosting tools and ingredients throughout the post. They’re Kacie-approved, and yes, some of them are affiliate links!
Hi friends!
If your skin’s been looking puffy, tired, or like it’s holding a grudge, facial massage is your new best friend. No fancy tools. No $200 serums. Just your hands, five minutes, and a little know-how. This isn’t some woo-woo wellness fluff! It boosts circulation, helps your skincare absorb better, and makes you look alive again. I’m obsessed. Bonus? You probably already have everything you need in your kitchen. Yes, really. Let’s get into the why and how, because your face deserves better than just a rinse and hope for the best.

Want more easy skincare tips like these (that actually work)? Sign up for my weekly newsletter, no spam, just glow!
Luxurious DIY Beauty Treatments
First, a Turmeric Brightening Mask is a game-changer for dull, tired skin. Studies published in the Journal of Cosmetic Dermatology confirm the skin-brightening effects of turmeric extract, making it a must-have ingredient for luminous skin. To make this mask, mix a teaspoon of turmeric powder with honey and yogurt and apply it to your face for 10-15 minutes. Your skin will thank you later!
Next, we have a Matcha Detox Mask, perfect for purifying and revitalizing the skin. Matcha's antioxidants can also encourage collagen synthesis, ideal for achieving a youthful glow. Mix matcha powder with some water to make this mask, and apply it to your face for 10-15 minutes. You'll feel refreshed and rejuvenated afterward!
A Papaya Enzyme Exfoliating Mask is a must-try for its gentle exfoliating properties, revealing brighter, smoother skin. To make this mask, mix papaya with honey and apply it to your face for 10-15 minutes. Your skin will be left feeling baby-soft!
Practical Tips for Successful DIY Skincare
Always conduct a patch test on a small skin area before fully applying the treatment. You don't want to risk a full-blown breakout or allergic reaction. Apply a small amount of the treatment to a small area of your skin, like the inside of your wrist, and wait 24 hours to check for any adverse reactions. If everything looks good, then go ahead and apply the treatment as directed.
Cleanliness is next to godliness, and it's especially true when it comes to DIY skincare. Please ensure all tools and containers are clean and sanitized to prevent bacterial contamination. You don't want to end up with a skin infection, do you?
Stick to the recommended measurements and instructions precisely to avoid overexposure or adverse effects. Trust me, I've learned this the hard way. Don't get too excited and add extra ingredients or use more than recommended. Your skin will thank you for following instructions.
Just because a product is natural doesn't mean it's safe. Some natural ingredients can still cause allergic reactions or skin irritation, so be mindful of what you're using. Do your research and avoid unsafe ingredients like lemon juice, toothpaste, or baking soda, which can be harsh and damaging to the skin.
Lastly, keep it simple. Start with simple recipes and gradually work up as you gain confidence and experience. Don't try a complex recipe that requires ten different ingredients and a chemistry degree right off the bat. Trust me, it won't end well.
My Journey with DIY Beauty
I've had my fair share of successes and mishaps in the quest for radiant skin, but I'm always up for trying new things. And let me tell you, experimenting with different ingredients and formulations has been one of the most fun and rewarding experiences!
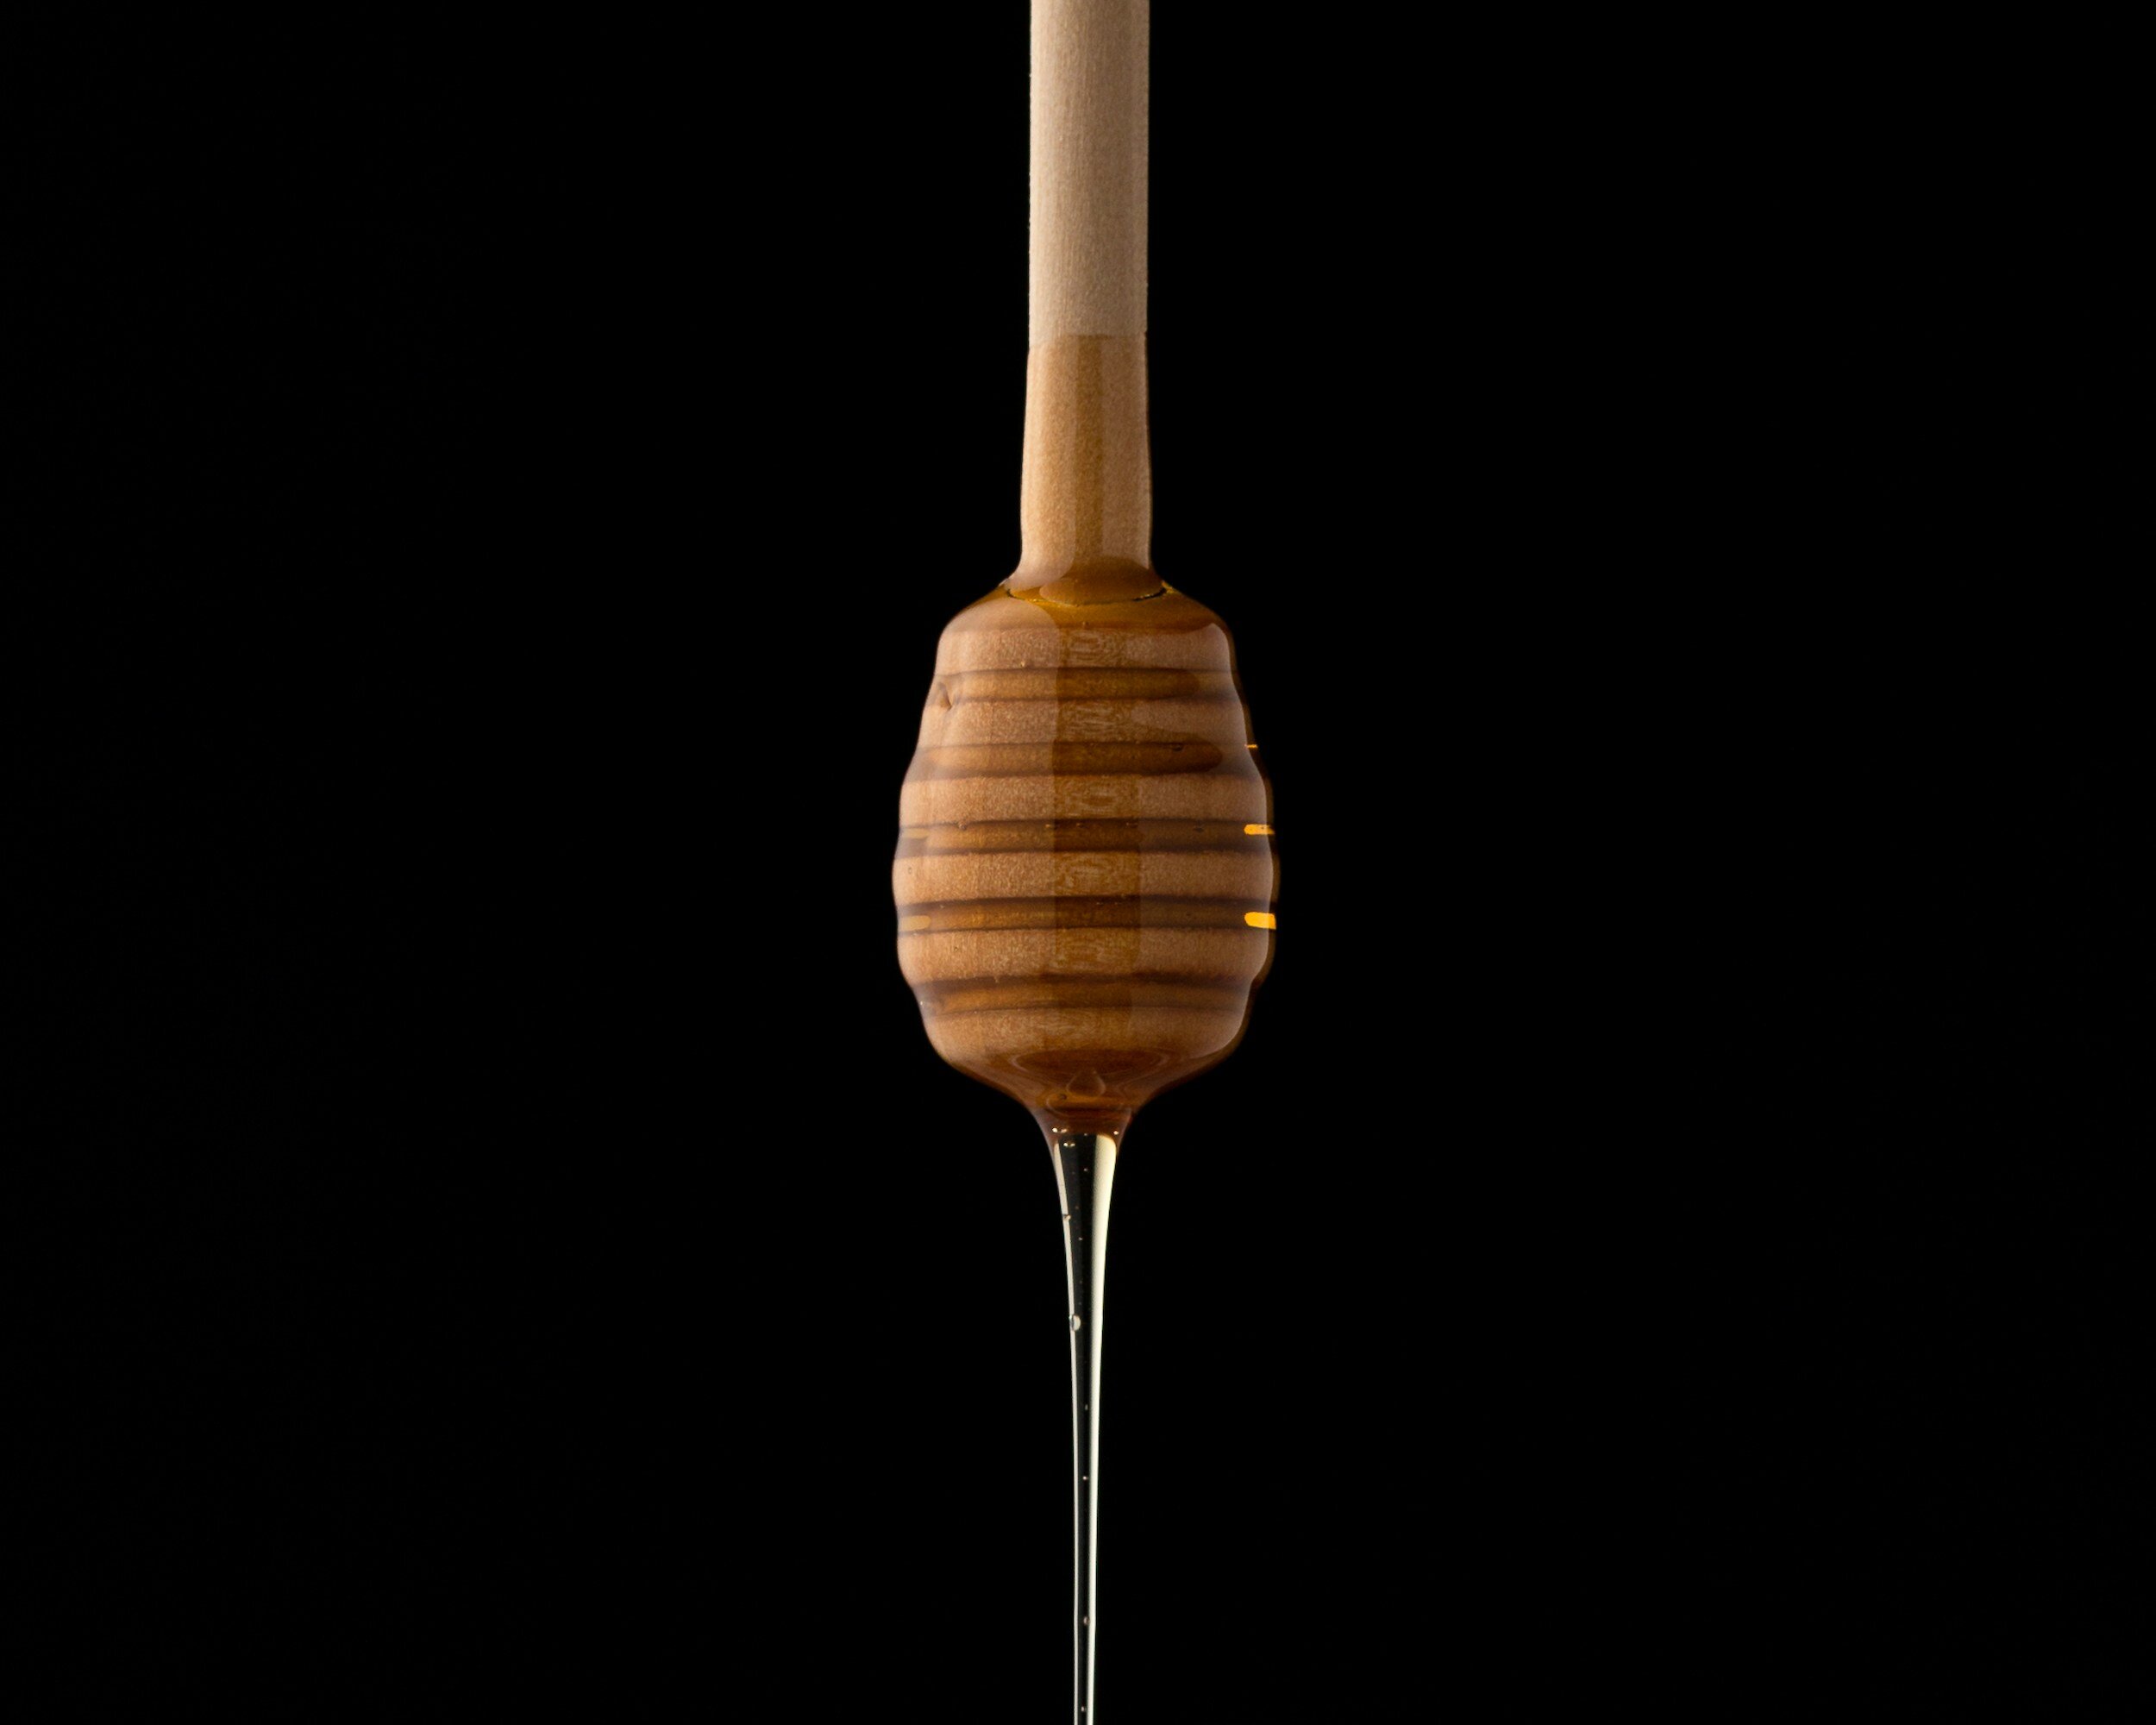
One of my favorite DIY treatments is a simple honey mask. It's such a classic and always leaves my skin feeling soft and refreshed. I remember the first time I tried it out - I was skeptical, but I had heard so many great things about it that I just had to give it a go. And boy, am I glad I did! The results were terrific, and I've been hooked ever since.
But let's be real: not every DIY experiment goes as planned. I remember one time I decided to try out a homemade avocado face mask. Everyone was raving about it, so I figured trying couldn't hurt. Let's say it didn't quite work out the way I expected. I mashed up the avocado and applied it to my face, but it started to feel itchy within a few minutes. I tried to tough it out, thinking it was part of the process, but it kept worsening. I had to rinse it off early, and my face was bright red for the rest of the day. I now likely can attribute my reaction to the avocado as a symptom of my nickel allergy, and avocado has about 39.4 μg, which is ranked as very high nickel content! Lesson learned - just because something works for everyone else doesn't mean it'll work for you!
Despite the occasional mishap, I've found that experimenting with DIY beauty treatments has allowed me to tailor my skincare routine to meet my skin's ever-changing needs. And let's face it, our skin can sometimes be pretty unpredictable. One day, it's oily; the next, it's dry and flaky. But with the power of DIY, I've found solutions that work for me.
I've also discovered that something is empowering about taking control of your beauty routine. It's so easy to get caught up in the latest trends and fads, but in the end, it's important to remember that beauty is all about feeling confident and comfortable in your skin. For me, that means taking the time to experiment and find the products and treatments that work best for me.
And there you have it, friends! I hope you found these tips helpful and inspiring. Now it's your turn. Share your favorite homemade skincare recipes in the comments below and join the conversation on social media using #DIYBeauty. Don't forget to tag your friends who love all things skincare!
Resources and Recommendations:

Are you looking to enhance your DIY beauty arsenal? Check out the Skin Gym Rose Quartz Crystal Facial Roller for a luxurious addition to your skincare routine. This beauty tool boosts circulation and lymphatic drainage, enhancing the effectiveness of DIY skincare treatments.
Which mask are you trying first? Tell me in the comments or tag me on IG if you’re doing a DIY spa night—I need to see your glow.
FAQ’s
Q1: What are the best DIY beauty treatments for glowing skin at home?
A: The easiest glow-boosting treatments use stuff you probably already have in your kitchen—think turmeric masks for brightening, matcha for detox, and papaya for gentle exfoliation. Plus, facial massage with tools like the Skin Gym Rose Quartz roller helps boost circulation and makes your skin soak up all those goodies. Start simple and work your way up!
Q2: How does turmeric help brighten dull skin in DIY face masks?
A: Turmeric contains curcumin, which studies show can reduce inflammation and even out skin tone, giving you that lit-from-within glow. Mixing turmeric powder with honey and yogurt creates a powerful yet gentle mask to refresh tired skin. Just don’t go overboard—you only need a teaspoon to see results!
Q3: Can I safely do at-home facial massages to improve my skin’s glow?
A: Absolutely! Facial massage promotes lymphatic drainage and blood flow, which helps clear toxins and give your skin a natural flush. Using a crystal facial roller or gua sha tool makes it extra relaxing and more effective. Just be gentle and don’t overdo it, especially if you’re prone to redness.
Q4: What natural ingredients work best for exfoliating sensitive skin?
A: Papaya enzyme masks are amazing for sensitive types because they gently remove dead skin without harsh scrubbing. Mix fresh papaya with honey and leave on for 10-15 minutes to reveal smooth, soft skin. Avoid rough ingredients like baking soda or lemon juice, which can cause irritation.
Q5: How do I avoid allergic reactions when trying DIY beauty treatments at home?
A: Patch testing is your new best friend. Apply a small amount of the mask or product on your wrist or behind your ear and wait 24 hours before slapping it on your face. And if you have nickel allergies like me, avoid ingredients like avocado, which can cause redness and itching. Keep it simple and listen to your skin.
Q6: What should I avoid when making my own skincare masks to prevent skin damage?
A: Stay far away from harsh kitchen staples like lemon juice, toothpaste, and baking soda—they might seem like good ideas but they’re tough on your skin’s natural barrier and can cause burns or breakouts. Stick to nourishing, gentle ingredients like honey, yogurt, and natural powders.
Q7: How often should I do DIY facial treatments for glowing skin?
A: Once or twice a week is enough for most masks like turmeric or matcha detox. Facial massage can be done more often, even daily, if your skin tolerates it well. Overdoing it can cause irritation, so keep an eye on how your skin reacts and adjust accordingly.
And don’t forget to sign up for my Chronically Chic newsletter for more skin tips, beauty faves, and low-nickel-friendly self-care ideas that actually work.
Amazon Affiliate Link Disclaimer:
So that you know, this blog may include affiliate links to products on Amazon. Your support through these affiliate links helps me continue providing valuable content to my readers. Thank you for joining this community and supporting my blogging journey.